In recent years, the popularity of keyboard customization kits has surged, attracting enthusiasts and casual users alike. These kits offer a unique opportunity to create a mechanical keyboard tailored to your personal preferences. But what exactly are these kits, and how can you utilize them to build your dream keyboard?

Understanding Keyboard Customization Kits
Keyboard customization kits typically include all the essential components needed to assemble a mechanical keyboard. This includes the keyboard case, PCB (printed circuit board), switches, keycaps, and stabilizers. Each component plays a crucial role in the overall functionality and aesthetics of the keyboard.
- Keyboard Case: The outer shell that houses all components.
- PCB: The brain of the keyboard, responsible for registering key presses.
- Switches: The mechanisms that provide tactile feedback and determine the typing experience.
- Keycaps: The visible part of the keyboard that you press.
- Stabilizers: Components that prevent larger keys from wobbling.
Choosing the Right Components
When selecting components for your keyboard customization kit, consider your typing style and preferences. Do you prefer a tactile feel, or are you more inclined towards a smooth keystroke? The choice of switches can significantly impact your experience. Additionally, the design and material of the keycaps can enhance both the look and feel of your keyboard.
For instance, if you enjoy a quieter typing experience, you might opt for linear switches. Conversely, if you appreciate tactile feedback, clicky switches may be more to your liking. The variety available in keyboard customization kits allows you to experiment until you find the perfect combination.
Assembling Your Custom Keyboard
Once you have gathered all the necessary components, the assembly process begins. This can be an exciting yet daunting task for beginners. Start by carefully soldering the switches onto the PCB, ensuring each connection is secure. If you prefer a solderless option, consider a hot-swappable PCB, which allows you to change switches without soldering.
After the switches are in place, install the stabilizers for larger keys, followed by the keycaps. Finally, place the assembled PCB into the keyboard case and secure it. This process not only enhances your understanding of how keyboards work but also allows for a sense of accomplishment once completed.
Enhancing Your Custom Keyboard Experience
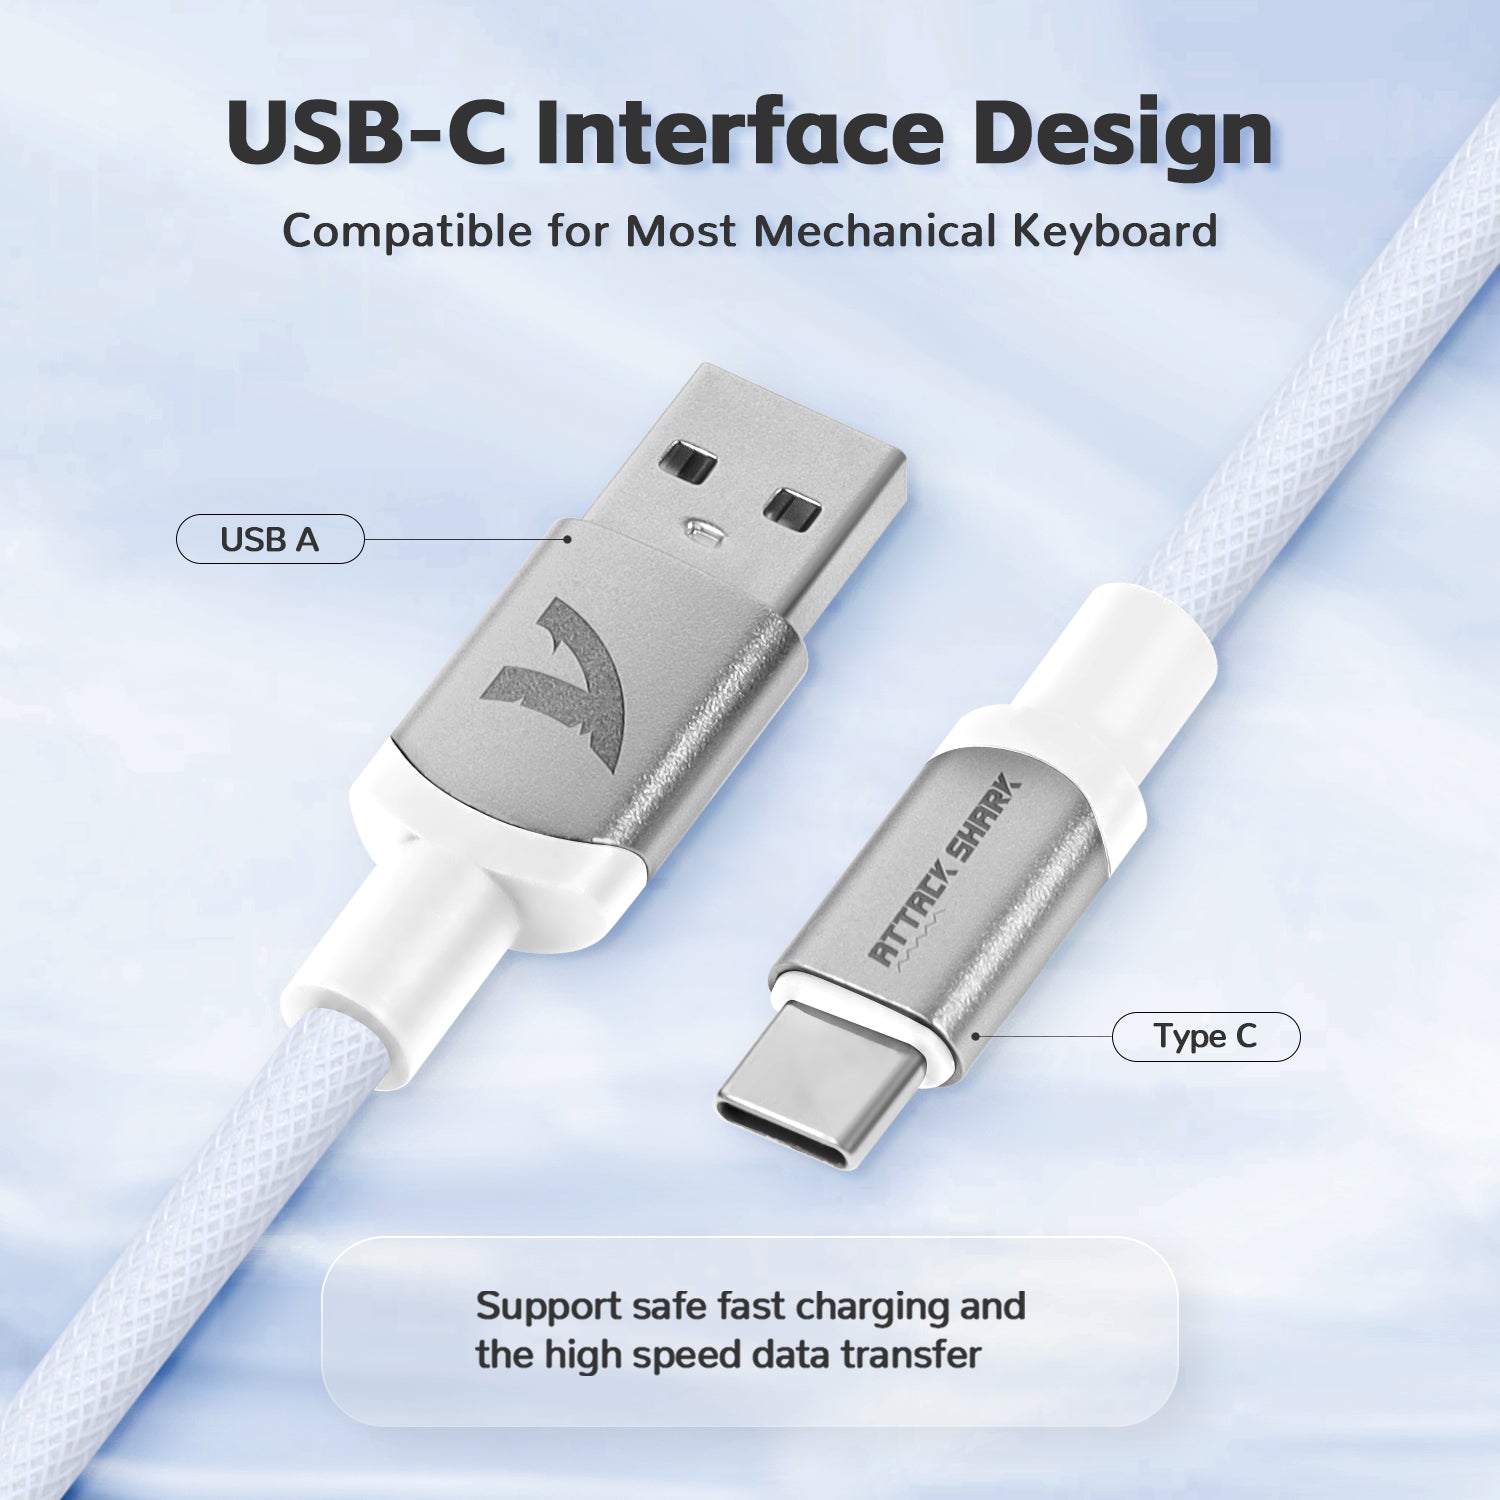
To further personalize your keyboard, consider adding accessories such as custom cables, wrist rests, or even high-quality imprint stamps. These additions can elevate the overall aesthetic and functionality of your keyboard.
In conclusion, keyboard customization kits offer a fantastic way to create a mechanical keyboard that meets your specific needs. By understanding the components, choosing the right parts, and assembling them with care, you can enjoy a typing experience that is uniquely yours. Whether you are a seasoned enthusiast or a newcomer, the world of keyboard customization is waiting for you to explore.


